Easy Ghost Face Paint: Step-by-Step Halloween Face Paint for Beginners
- Jun 16
- 3 min read
Updated: 1 day ago
Want to learn how to create an easy ghost face paint design? In this step-by-step guide, you'll discover how to paint cute Halloween ghosts that are perfect for beginners.
Ghost face painting is one of the easiest and most fun Halloween face paint designs for kids. With a few friendly ghosts, a spider web, and soft pink accents, you can create a playful Halloween look that's not too scary. This makes it perfect for young children, Halloween parties, school events, and costume parties.
Although this design looks cute and detailed, it's surprisingly simple to create. This easy Halloween face paint idea is ideal for children who want something spooky without looking frightening. With white face paint, a little black paint, and a few simple brush strokes, you can create a recognizable Halloween design in just a few minutes.
Looking for ghost face paint ideas, Halloween face paint inspiration, or an easy Halloween face paint design for kids? In this tutorial, you'll learn exactly which supplies you need and how to create these adorable ghosts step by step.
Supplies for Ghost Face Paint
For this ghost face paint design, you'll only need a few basic products:
1. White Face Paint
For the ghosts.

2. Black Face Paint
For the outlines, faces, and spider web.

3. Pink Face Paint
For the shadows around the ghosts.

4. Paint Brushes (2 Sizes)
Thin brush for details
Slightly thicker brush for larger shapes

Step-by-Step Ghost Face Paint Tutorial
Follow these steps to create a cute Halloween ghost face paint design. This look is quick, fun, and perfect for beginners.
Step 1: Draw the Ghost Shapes
Using white face paint, create the outlines of three small ghosts.
💡 Tip: Make the bottom of each ghost wavy so they look like they're floating.

Step 2: Fill in the Ghosts
Fill the ghost shapes with white face paint until they are fully covered. Add arms if you like.

Step 3: Add Outlines
Outline the ghosts with black face paint.

Step 4: Add Faces
Give each ghost eyes and a mouth.
💡 Tip: Make each ghost look slightly different. Different expressions make the design more playful.

You can stop here if you're short on time. The next steps are optional and make the design more colorful.
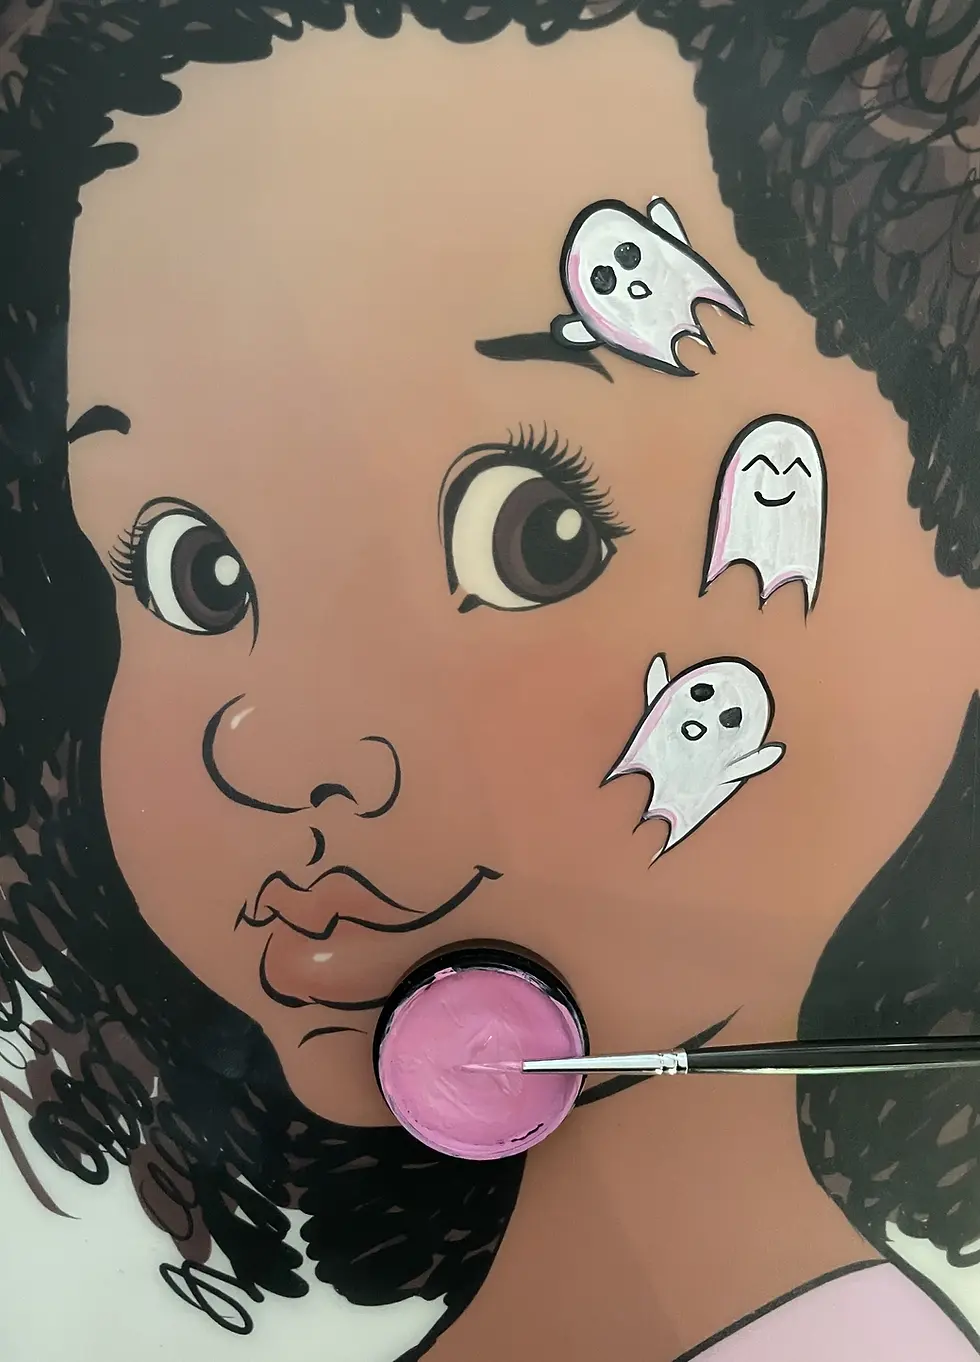
Step 5: Add Pink Shadows
Create a soft pink shadow around the ghosts for extra depth.
💡 Tip: Use a light outline if you want a softer look.
Step 6: Extra Outline
Outline the pink shadow with a thin black line.
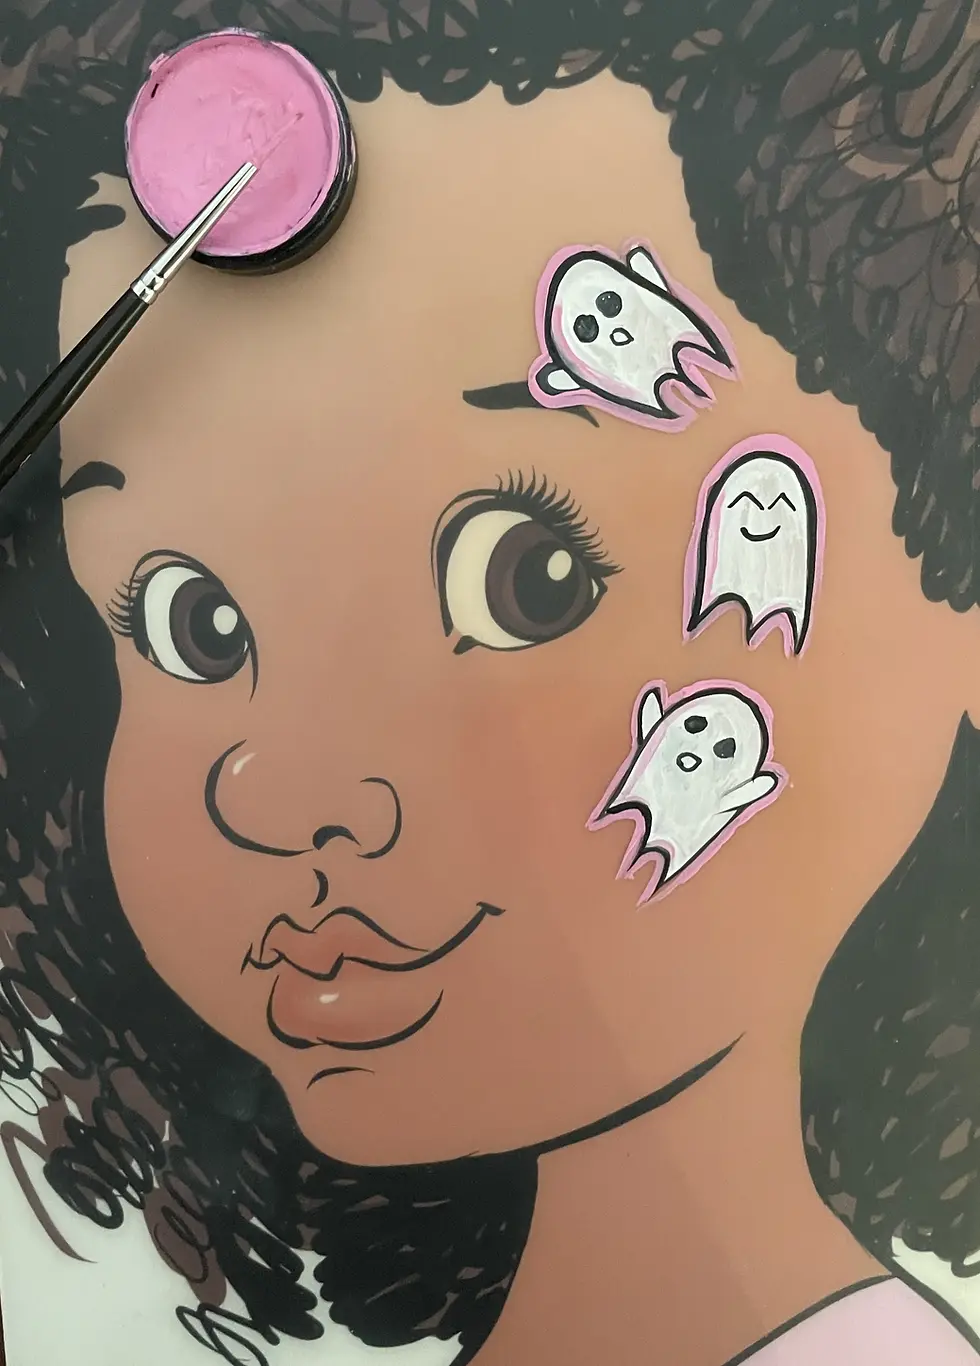
Step 7: Spider Web
Add a small spider web to the forehead to complete the Halloween theme.
💡 Tip: Keep the spider web small so it doesn't distract from the ghosts.

Ghost Face Paint Variations
Want to try something different?
Cute Halloween ghost face paint
Glitter ghost face paint
Rainbow ghost face paint
Kawaii ghost face paint
Spooky ghost face paint
👉 Perfect for Halloween, costume parties, and school events.
When to Use This Design
Ghost face paint is perfect for:
Halloween
Halloween parties
School events
Costume parties
👉 Cute, recognizable, and not too scary for young children.
Ready to Paint Your Own Ghost?
With these simple steps, you can create a fun and recognizable Halloween ghost face paint design. As you practice, your lines will become cleaner and you'll work faster.
But do you notice that:
your lines aren't as smooth as you'd like
your ghosts don't look quite right
or face painting takes longer than expected
That's completely normal when you're starting out.
👉 In Mia's Magic's face painting course, you'll learn step by step:
How to create clean, professional-looking lines
How to face paint faster
How to build popular Halloween designs
How to create your own variations
So you can face paint with more confidence and have more fun — even if you're a complete beginner.

Comments