Zombie Face Painting: Step-by-Step Guide for Beginners
- Valinda Voogt

- Sep 25, 2025
- 3 min read
Are you ready to give everyone goosebumps? Zombie face painting is spookily fun and perfect for Halloween, theme parties, or cosplay. Whether you’re a beginner face painter or already have some experience. In this blog post, you’ll discover which materials you need, follow a step-by-step guide, and get creative tips to make your zombie uniquely yours. Brushes ready? Let the fright fest begin!
Although cheap face paint from the local toy store is tempting, it often lacks quality and skin-friendliness—especially for children, it can cause irritation. It’s better to choose professional, EU-approved water-based face paint for a safe, clean result.
Supplies for Zombie Face Painting
Before you start with zombie face painting, it’s good to know you don’t need a full face-paint kit. With a few basic colors and simple tools, you can already create a convincing undead look. Here’s what you need to get started right away.
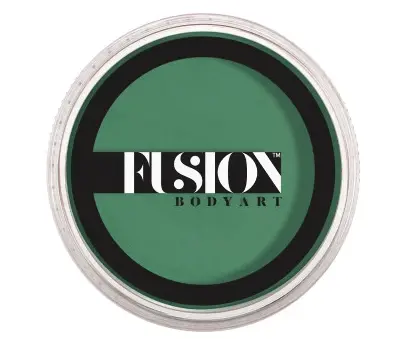
Green Face Paint
With green face paint we create the base of the zombie.
Pink Face Paint
Using pink face paint, we paint the zombie’s brain.
White Face Paint
Use white face paint to add highlights to the zombie.
Black Face Paint
Black face paint is used to outline the zombie.
Face Paint Brush
Brushes are used throughout the entire zombie look.
With the right face-paint supplies, zombie face painting becomes a breeze! Choose high-quality, skin-friendly, water-based face paint that applies easily, blends well, and lasts. In the next section, we’ll show you step by step how to create a convincing zombie look—perfect for Halloween, themed parties, or cosplay.

Step-by-step Zombie Face Painting
Think zombie face painting is hard? Not at all! With the right tips and a bit of practice, you’ll create a zombie in no time. In this step-by-step guide, you’ll learn how to make a convincing zombie look—perfect for Halloween, spooky parties, and beginner face painters!
Step 1
Using green face paint, create the zombie’s base. Make sure it runs halfway across the nose and from the corner of the mouth toward the ear. Also include a small area above the eyebrow.

Step 2
Use pink face paint to fill in the top section. This will form the brains.

Step 3
Outline the eyes in black. Draw a line upward from the inner corner of the eye for an aggressive look.

Step 4
I painted the eyebrow black to make this practice board stand out more. This isn’t necessary on a real face. Apply thin lines of black face paint around the eye for added depth.

Step 5
Using black face paint, create the nose and outline the design.

Step 6
Using more black, draw the teeth outline along the upper lip.

Step 7
Finish the outline with a black line to define the upper jawbone.

Step 8
Apply thick and thin black lines to the pink area to give the brain more definition.

Step 9
Apply highlights to the pink area using white face paint.

With this accessible guide, you’ll learn step by step how to paint a convincing zombie—perfect for beginner face painters. Whether it’s for Halloween, a themed party, or cosplay, your zombie look will give everyone goosebumps and stay put all night.
Is your zombie face painting not turning out the way you hoped? No worries! With a professional face painter at your Halloween party, school event, or function, kids and adults alike will transform into spine-chilling zombies in no time—and all you have to do is enjoy the party.
Want to learn to do it yourself? In our free beginner face painting course, you’ll discover step by step how to use the right techniques and materials to start face painting on your own.


%20(1)_result.webp)


Comments